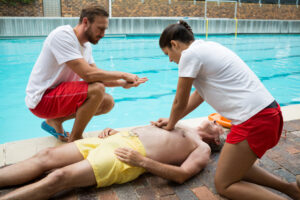
When an emergency happens, the first few minutes are critical. Panic is natural, but action is what saves lives. DRSABCD is the structured emergency action plan used across all Australian first aid training and endorsed by the Australian Resuscitation Council (ARC). It gives you a clear sequence to follow from the moment you encounter an emergency through to defibrillation if needed.
Whether you are a trained first aider refreshing your knowledge, a student preparing for your first aid course, or simply someone who wants to be ready, understanding DRSABCD could help you save a life.
What Does DRSABCD Stand For?
DRSABCD stands for:
- D Danger
- R Response
- S Send for help
- A Airway
- B Breathing
- C CPR
- D Defibrillation
Each letter represents an action step in order. You follow them sequentially, moving to the next step only when the previous one is addressed. This structure prevents common mistakes like attempting CPR before checking for a pulse, or leaning over a casualty before checking that the scene is safe.
Step by Step: How to Use DRSABCD
D: Danger
Before you do anything, check for danger. This means protecting yourself first.
Look around and ask:
- Is it safe to approach the casualty?
- Are there ongoing hazards: traffic, electricity, unstable structures, fire, toxic fumes?
- Are there bystanders who might be at risk?
Do not become a second casualty. If the scene is unsafe, do not approach. Remove the hazard if it can be done safely, or wait for emergency services.
Once the scene is safe to enter, approach the casualty.
R: Response
Check whether the casualty is responsive. Use the AVPU scale as a guide:
- A Alert: Are they awake and aware of their surroundings?
- V Voice: Do they respond to a verbal prompt? (“Can you hear me? Squeeze my hand.”)
- P Pain: Do they respond to a pain stimulus? (A sternal rub or earlobe pinch)
- U Unresponsive: No response to any stimulus
If the person is unresponsive, move immediately to S.
S: Send for Help
Call 000 (Triple Zero) or instruct a bystander to do so. Be specific: “You, in the red shirt, call 000 now and come back to tell me they are on the way.”
Provide the dispatcher with:
- Your exact location (address, landmark, suburb)
- What has happened (cardiac arrest, fall, choking, etc.)
- The condition of the casualty (unresponsive, not breathing normally)
- Your name and phone number
Do not hang up. Stay on the line if possible, as the dispatcher can guide you through the next steps.
If you are alone with no phone available and there is an AED nearby, retrieve it before beginning CPR. Otherwise, start CPR immediately and call when possible.
A: Airway
An unconscious person’s airway can become blocked by the tongue falling back. To open the airway:
- Place one hand on the forehead and tilt the head back gently
- Use two fingers under the chin to lift the jaw upward (head tilt, chin lift)
- Look into the mouth: remove any visible obstruction (dentures, food, vomit) if it can be done safely
For a suspected spinal injury, use the jaw thrust technique instead: push the jaw forward without moving the neck.
B: Breathing
With the airway open, check for normal breathing. Look, listen, and feel for no more than 10 seconds:
- Look: Is the chest rising and falling?
- Listen: Can you hear breathing sounds?
- Feel: Can you feel air movement against your cheek?
Occasional gasping (agonal breathing) is not normal breathing. If the person is not breathing normally, treat it as cardiac arrest and move to C.
If the person is breathing normally but unconscious, place them in the recovery position and monitor continuously.
C: CPR
Begin CPR immediately if the casualty is unresponsive and not breathing normally.
For adults:
- Position yourself beside the casualty
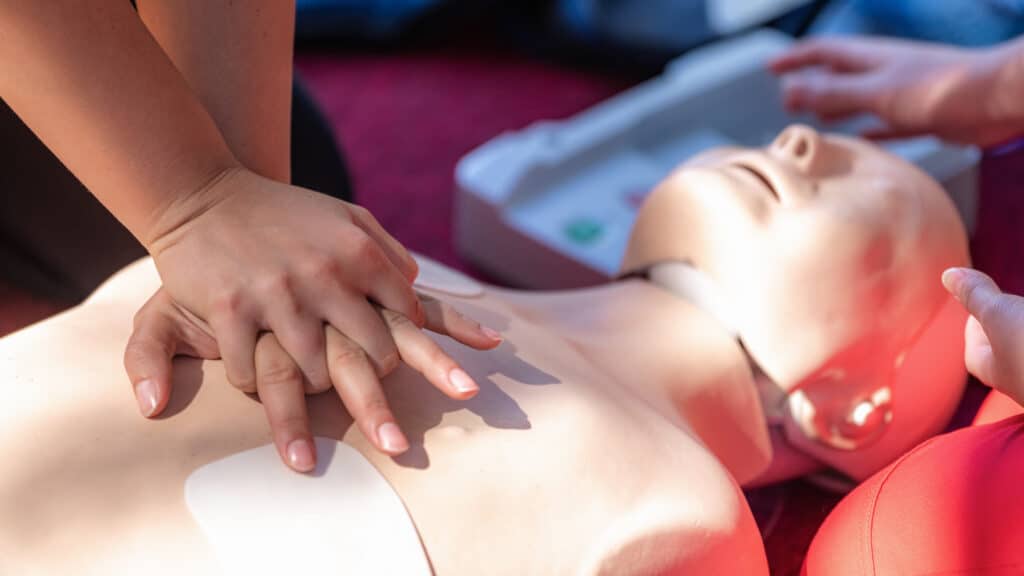
- Place the heel of one hand on the centre of the chest (lower half of the sternum)
- Interlace your fingers and keep them clear of the ribs
- Compress straight down, 5 to 6 cm deep, at a rate of 100 to 120 compressions per minute
- Allow full chest recoil between compressions
- Perform 30 compressions, then tilt the head, lift the chin, and give 2 rescue breaths
- Each breath should take about 1 second and produce visible chest rise
If you are not trained in rescue breaths or are not comfortable providing them, continuous chest compressions (hands-only CPR) are still effective and better than nothing.
Continue CPR until: an AED is available and ready to use, the person starts breathing normally, emergency services take over, or you are physically unable to continue.
D: Defibrillation
An Automated External Defibrillator (AED) can restore a normal heart rhythm in cases of ventricular fibrillation or pulseless ventricular tachycardia. Early defibrillation significantly increases survival rates: every minute without defibrillation in a shockable rhythm reduces survival by approximately 10%.
When an AED arrives:
- Power it on and follow the voice prompts exactly
- Attach the electrode pads as illustrated on the device (one pad to the upper right chest, one to the lower left side)
- Ensure no one is touching the casualty while the AED analyses the rhythm
- If a shock is advised, stand clear and press the shock button
- Immediately resume CPR for 2 minutes, then let the AED re-analyse
- Continue the cycle until emergency services arrive
AEDs are available in many public places: shopping centres, gyms, airports, sports facilities, and many workplaces. In an emergency, send a bystander to locate the nearest AED while you continue CPR.
DRSABCD for Children and Infants
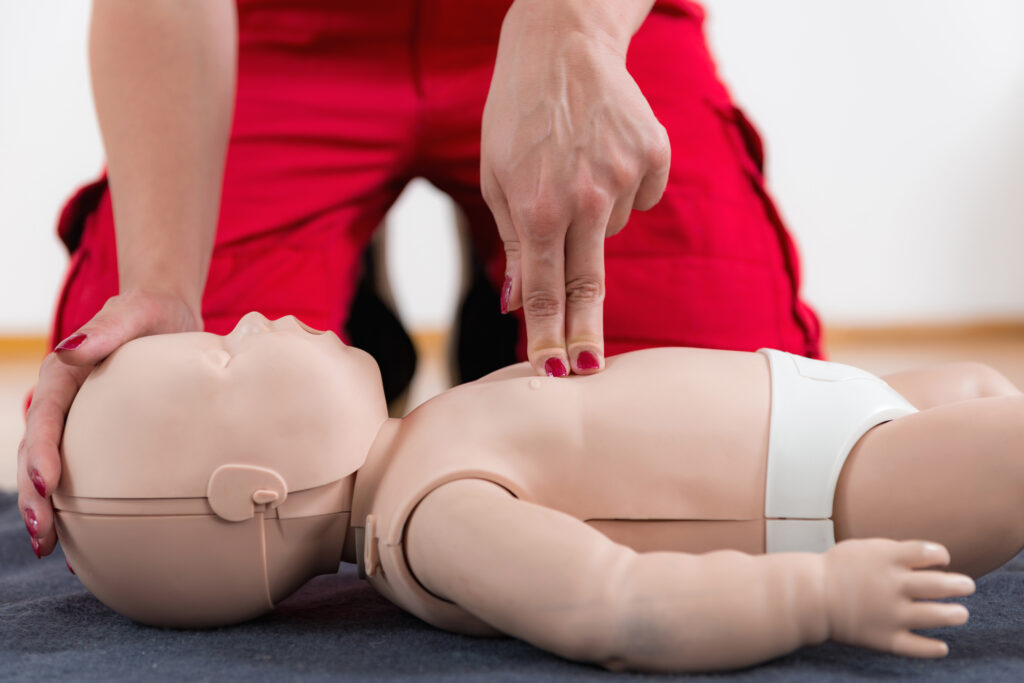
The sequence is the same for children and infants, but the technique differs:
- Infant CPR: Use two fingers for compressions on the centre of the chest. Push down approximately one third the depth of the chest (about 4 cm). Give gentle puffs of air that visibly move the chest.
- Child CPR: Use one or two hands depending on the child’s size. Compression depth is approximately one third the chest depth (5 cm for most children).
- Rescue breaths for infants: Mouth over both their nose and mouth, using just the air in your cheeks (gentle puffs). Adult lungs are too big and full breaths can damage an infant’s lungs.
Learning DRSABCD in a Formal First Aid Course
Reading about DRSABCD and being trained to apply it under pressure are different things. First aid courses train you to perform the steps correctly on manikins, react to scenarios, and manage the stress of a real emergency.
If you are ready to get certified, FAP First Aid (RTO 46449) offers express HLTAID009 (CPR, 30-minute practical), HLTAID011 (Full First Aid, 60-minute practical) and HLTAID012 (Childcare First Aid, 90-minute practical) courses across Australia, 7 days a week.
Book at fastfirstaidcpr.com.au/calendar/
Frequently Asked Questions About DRSABCD
What does DRSABCD stand for in first aid?
DRSABCD stands for Danger, Response, Send for help, Airway, Breathing, CPR, and Defibrillation. It is the standard emergency action plan used in Australian first aid training and endorsed by the Australian Resuscitation Council.
Is DRSABCD used only in Australia?
The DRSABCD sequence is specifically used in Australian first aid training. Other countries use similar but differently named frameworks. In Australia, all nationally recognised first aid courses (HLTAID009, HLTAID011, HLTAID012) teach DRSABCD.
What do you do if there is no AED available during DRSABCD?
If no AED is available, continue CPR without interruption until emergency services arrive. The D (Defibrillation) step is performed if and when an AED becomes available, and it does not pause the rest of the sequence.
Do you give rescue breaths in DRSABCD?
Yes, the standard ratio is 30 compressions to 2 rescue breaths. If you are not comfortable providing rescue breaths, continuous chest compressions (hands-only CPR) are still effective and should not be delayed.
How do you learn DRSABCD properly?
The best way is through a nationally recognised first aid course like HLTAID009 (CPR) or HLTAID011 (First Aid). These courses combine online theory with face-to-face practical training on manikins so you can apply the steps under pressure.